5 Quick Braided Hairstyles for Beginners
Braids are one of the most versatile and timeless ways to style your hair. Whether you’re heading to the office, school, a brunch date, or a night out, having a few reliable 5 quick braided hairstyles for beginners in your beauty arsenal can save you time while still making you look polished and put together.The beauty of beginner braid styles lies in their simplicity. You don’t need professional skills, fancy tools, or an hour in front of the mirror to pull off a look that’s both trendy and functional. From casual braid ideas to more feminine braided styles, the options are endless—even for those just starting out.Braids also serve as excellent no-heat braid styling techniques that help protect your hair from daily damage. By incorporating these quick hairstyles for busy mornings, you reduce reliance on flat irons or curling wands, giving your strands a break while still looking stylish.In this article, we’ll cover 5 quick braided hairstyles for beginners that are easy to learn, fun to wear, and perfect for all hair types and occasions. These styles include the classic three-strand braid, French braid, Dutch braid, fishtail braid, and a cute braided headband. Let’s dive in and braid your way to confidence.
Tips for Braiding Success (Before You Start)
Before diving into any of the easy braid tutorials, it’s important to prep your hair properly. Start by thoroughly detangling your hair with a brush or wide-tooth comb. Hair styling for beginners is much easier when your strands are smooth, as knots can make braiding frustrating and uneven.Use a bit of texturizing spray or dry shampoo to add grip, especially if your hair is clean and slippery. These products make it easier to control sections and keep the braid intact throughout the day. This trick is especially useful when working with fine hair or freshly washed hair that lacks hold.Make sure to section your hair evenly. Use a mirror or a friend to help if needed, especially when attempting styles like the french braid tips or dutch braid instructions. Proper parting ensures the braid looks neat and sits comfortably on your scalp, which is key for long-lasting braid tips.Finally, practice patience. Your first few tries may feel awkward, and that’s okay. Start with easier options like the three-strand braid before working your way up to more advanced techniques. With a little time and consistency, these 5 quick braided hairstyles for beginners will become second nature.
Style #1: Classic Three-Strand Braid
The three-strand braid is the foundation for most braided hairstyles and the easiest to learn. It’s perfect for anyone looking to master the basics of basic braid how-to techniques without feeling overwhelmed. This timeless look works well for long hair, medium-length, or even short hair braid styles with some creativity.To start, divide your hair into three equal sections. Cross the right section over the middle, then the left over the new middle. Continue alternating until you reach the ends and secure with an elastic. This braid can be worn straight down, in pigtails, or as a braided ponytail tutorial.Want to elevate the look? Accessorize with a ribbon, barrette, or weave in a scarf for a trendy touch. The braid with scarf accessory is popular for summer and adds a playful flair to even the most basic style.This style is a go-to for everyday braid inspiration. Whether you’re running errands or heading into a meeting, the classic braid offers a neat, fuss-free look that you can finish in under five minutes—making it one of the best fast cute hairstyles around.
Style #2: French Braid
The french braid adds elegance and functionality to your hair. It’s ideal for those looking for protective braided styles that keep hair out of the face while looking refined. Although it may seem intimidating, this braid is simply a three-strand braid with added hair as you go along.Begin by taking a section at the crown of your head and dividing it into three. As you cross sections over the middle, begin adding hair from each side. Continue braiding until you reach the nape, then finish with a traditional braid down to the ends. This technique is great for layered hair braids, as it holds shorter pieces in place.A side braid tutorial variation adds a romantic flair and is great for back to school braids or a dinner out. Use textured braid how-to tricks like gentle tugging to loosen loops and add volume—a method known as “pancaking.”French braids are also highly practical. They work well as gym-friendly hairstyles and stay intact during physical activity. Once mastered, the french braid tips can help you explore dozens of braided styles with just a little more confidence.
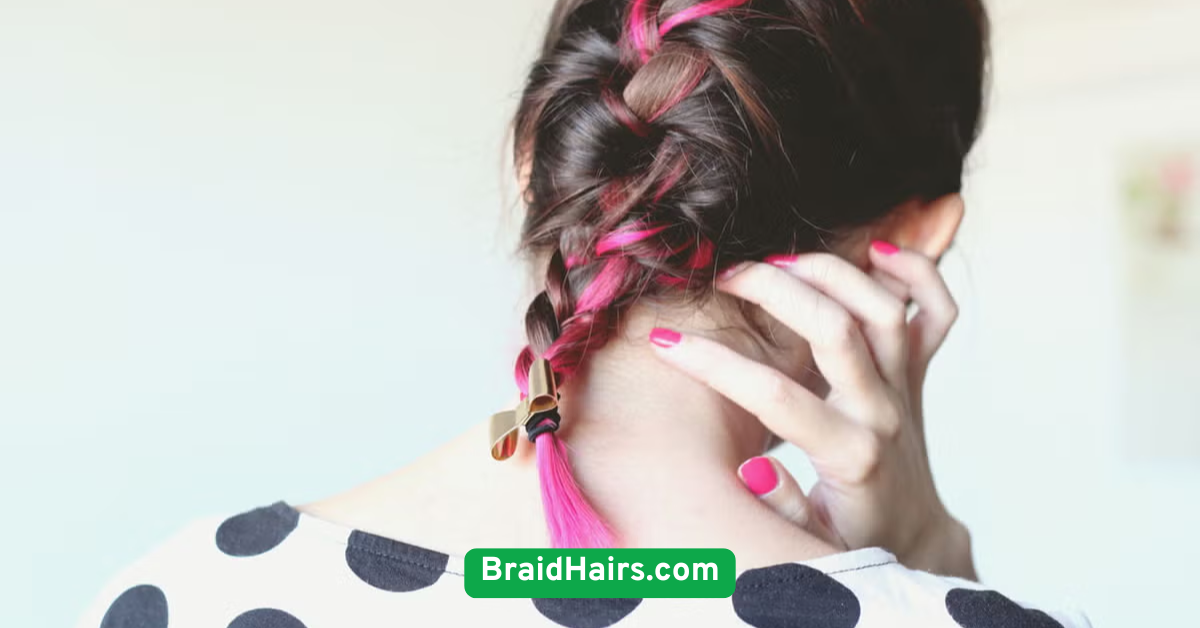
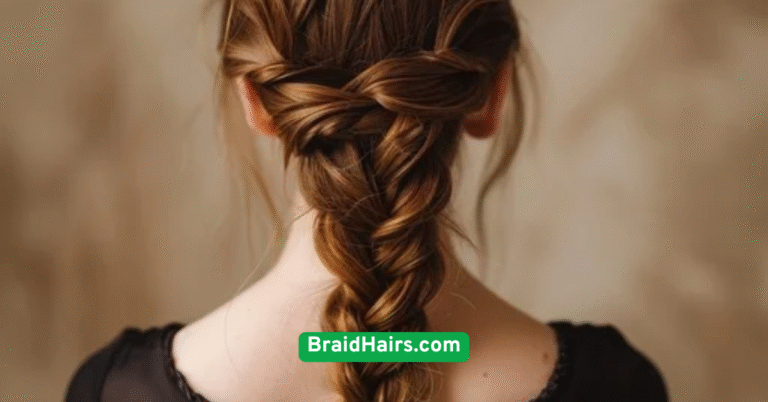
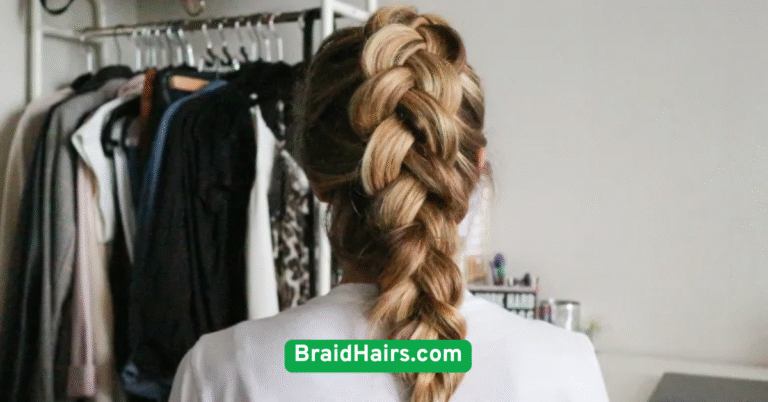
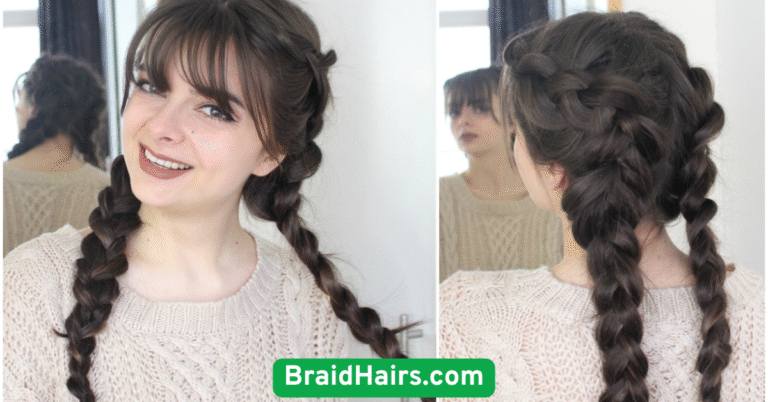
Style #3: Dutch Braid (Reverse Braid)
The Dutch braid instructions are essentially the opposite of the French braid. Instead of crossing hair over the middle section, you cross it underneath. This makes the braid appear raised or “3D,” which gives your hair more volume and makes it a favorite among boho braid tutorials.Start at the crown with three sections. Cross the outer pieces under the middle and continue adding hair from each side as you move down the scalp. Because of the outward appearance, the messy braid look is easy to achieve by gently pulling each section for fullness.One of the most popular variations is the double Dutch braids, a style that splits the hair into two and creates a sporty, symmetrical look. This style is perfect for gym-friendly hairstyles or even festival-ready fashion.The Dutch braid is especially flattering on medium to long hair and provides a youthful, playful vibe. Whether worn tight or messy, it’s a top pick in the world of quick hairstyles for busy mornings and one of the most requested trending braid tutorials online.

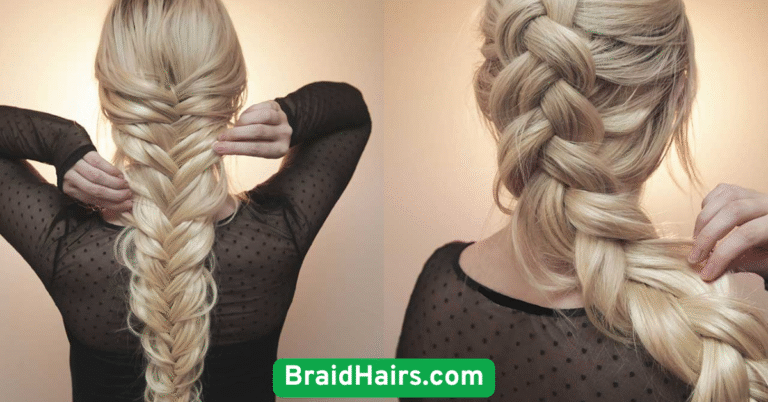
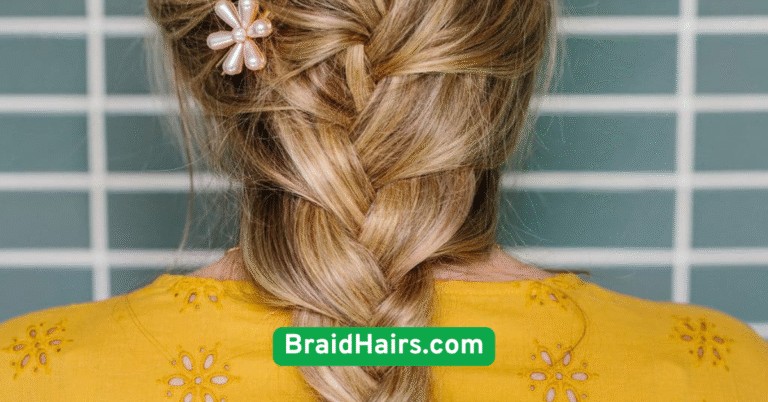
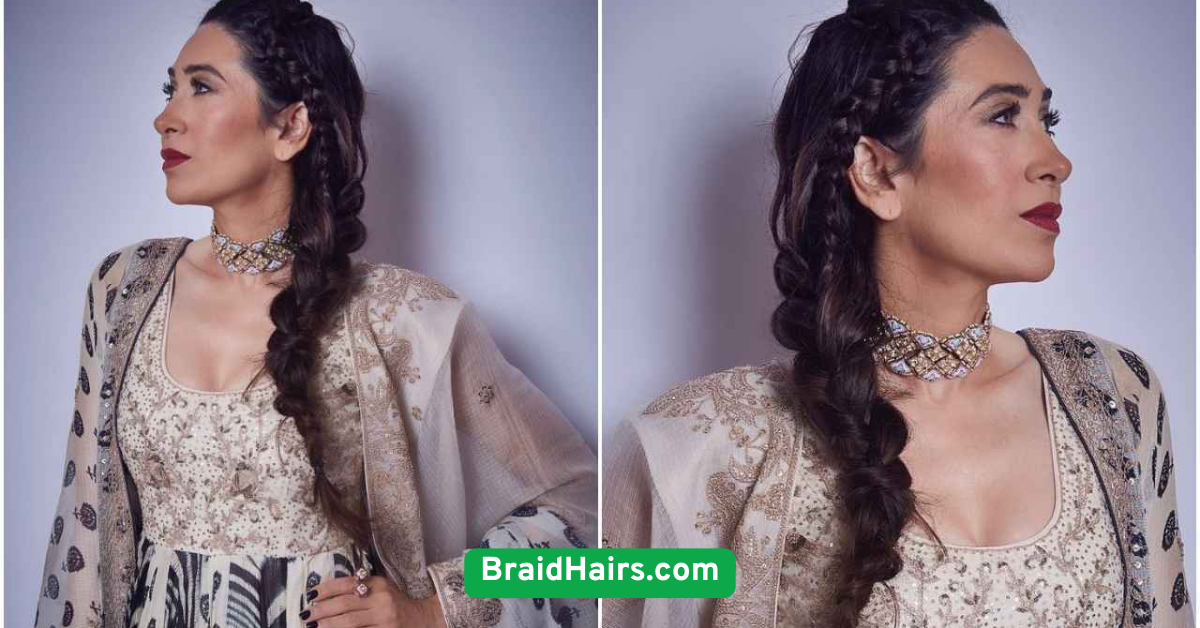
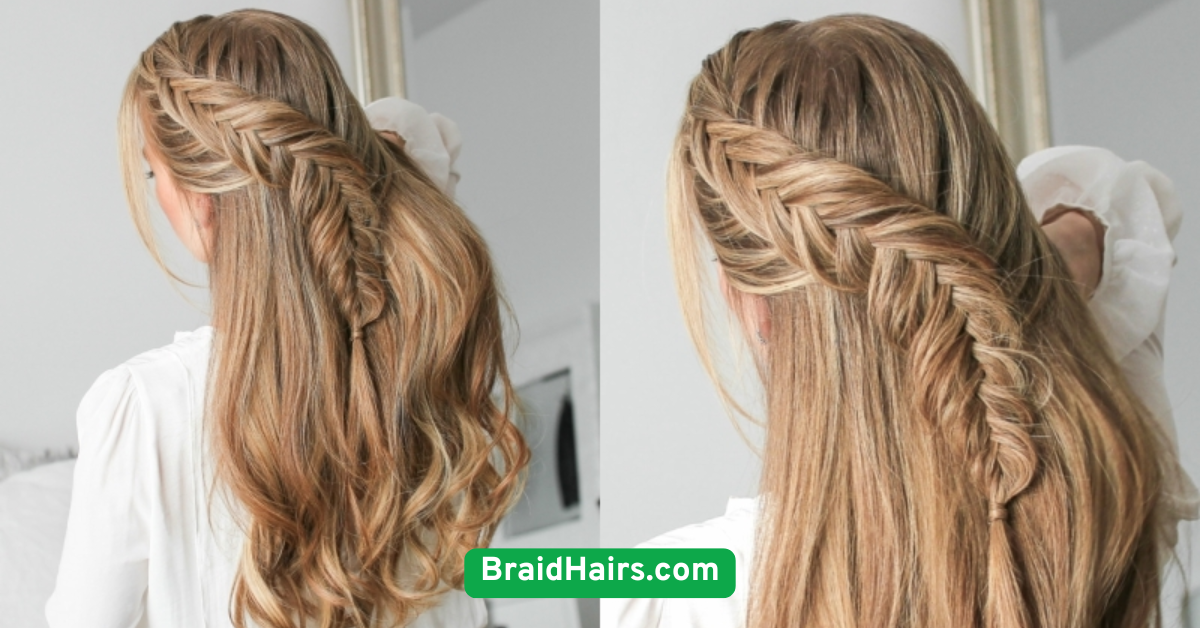
Style #4: Fishtail Braid
The fishtail braid for beginners is one of the most visually stunning styles, yet surprisingly easy to do. It may take a bit more time than other fast elegant braid styles, but the result is worth it, especially for events or special occasions.To create the fishtail braid, divide your hair into two equal parts. Take a small strand from the outer edge of one section and cross it to the opposite side. Repeat on the other side, continuing the process until you reach the end. Secure with a clear elastic for a sleek finish.This style works well on long hair and is ideal for romantic braided looks. To enhance the boho vibe, use a texturizing spray and gently pull apart the braid loops. The loose braid tutorial technique gives it a carefree, beachy appearance.Because of its delicate look, the fishtail is great for weddings, parties, or even paired with a casual outfit. It’s a versatile option for those looking to level up from basic styles to more intricate, stylish braids for events.
Style #5: Braided Headband
The braided headband style is both practical and pretty. It keeps flyaways and bangs out of your face while adding a delicate touch to your overall look. Best of all, it’s quick to do and works well on almost any hair type.To achieve this look, take a small section of hair from behind your ear and create a three-strand braid. Pull it across your head like a headband and pin it discreetly on the opposite side using bobby pins. For a fuller appearance, gently tug the braid loops apart.This braid complements short hair braid styles, medium length braid ideas, and even long, thick hair. Pair it with loose curls, a ponytail, or a messy bun to complete your soft everyday braid ensemble.Not only is it easy to master, but it also adds a unique flair that feels much more put-together than a simple hair clip. If you’re looking for a heatless hairstyle idea that takes just minutes but looks like you spent an hour, this is the braid to try.
Styling and Finishing Tips
Once you’ve created any of these 5 quick braided hairstyles for beginners, it’s time to set your style for the day. Start by securing the ends with a small, clear elastic. Use bobby pin braid tricks to secure loose strands and flyaways, especially around the crown and neck.For a polished look, lightly mist with hairspray or shine spray. If you prefer a messy braid look, use texturizing powder to create volume, then pancake the braid to achieve a more effortless finish. This step is key for achieving that trendy, Instagram-worthy braid.Accessorizing your braid can elevate it instantly. Add decorative pins, pearls, or even try a braided crown look with fresh flowers or hair jewelry for formal occasions. Scarves are also making a comeback in feminine braided styles, adding charm to your everyday look.No matter which style you choose, remember that braiding is an art. With practice and creativity, these quick hair transformations will become part of your go-to beauty routine, helping you feel stylish with minimal effort.
Conclusion
Braiding doesn’t have to be intimidating or time-consuming. These 5 quick braided hairstyles for beginners prove that even the simplest techniques can result in stunning, versatile looks for any occasion. With minimal tools, a little practice, and the right attitude, anyone can braid like a pro.
From the classic three-strand braid to the more intricate fishtail or braided headband style, you now have a variety of easy braid tutorials to experiment with. Whether you’re going for casual braid ideas, fast elegant braid styles, or something to wear to school, these styles are built to impress.
As you grow more confident, you can customize and combine these braids to create even more unique hairstyles. Don’t stress about perfection—embrace your personal flair and keep practicing your braid practice techniques.
Now’s the perfect time to grab a brush, some elastics, and start practicing. With these 5 quick braided hairstyles for beginners, you’ll be styling with confidence in no time.
Frequently Asked Questions
Q1: How do I stop my braid from unraveling?
A: To prevent unraveling, use a strong elastic band to secure the braid tightly at the end. If your hair is layered or especially fine, use bobby pin braid tricks to tuck loose strands or apply a bit of styling gel to hold the ends in place. For extra staying power, spray a light mist of hairspray after securing.
Q2: What if my hands get tired while braiding?
A: Braiding can be physically tiring, especially when you’re just starting. Try sitting down in front of a mirror and resting your arms on a table while braiding. Over time, your fingers will build muscle memory. Practicing braid practice techniques regularly helps your hands adapt and reduces fatigue.
Q3: Can I braid wet or damp hair?
A: Yes, you can braid damp hair, especially for heatless hairstyle ideas that give you waves once dried. Just avoid braiding soaking wet hair, which is more prone to breakage. Slightly damp hair adds grip and is easier to manage, especially for creating long-lasting braid tips.
Q4: Are braids safe for fine or thin hair?
A: Absolutely! Just avoid pulling too tightly at the roots. Use light styling cream or texturizing spray to help your hair grip better, and opt for loose braid tutorials to reduce tension. Braids can also protect your hair from breakage by keeping it contained and secure.
Q5: How can I make my braid look thicker?
A: To achieve a fuller look, try pancaking—gently pulling the loops of the braid apart after it’s secured. Adding texturizing powder or teasing the hair before braiding can also help. These tricks are commonly used in boho braid tutorials and make your style appear voluminous and soft.