5 Easy Braided Hairstyles for Special Days
And here’s the good news: you don’t need to be a professional stylist or own a suitcase full of products to look stunning. That’s where braided hairstyles come in—elegant, effortless, and incredibly versatile. I’ve handpicked five easy braided hairstyles that strike the perfect balance between beauty and simplicity. You’ll find looks that suit every face shape, hair type, and occasion—without burning a hole in your wallet or eating up your whole day.Let’s dive in and find your perfect braided look for that next special moment!
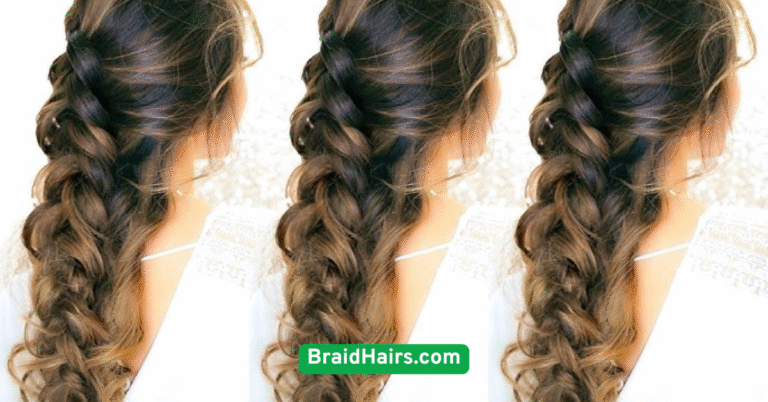
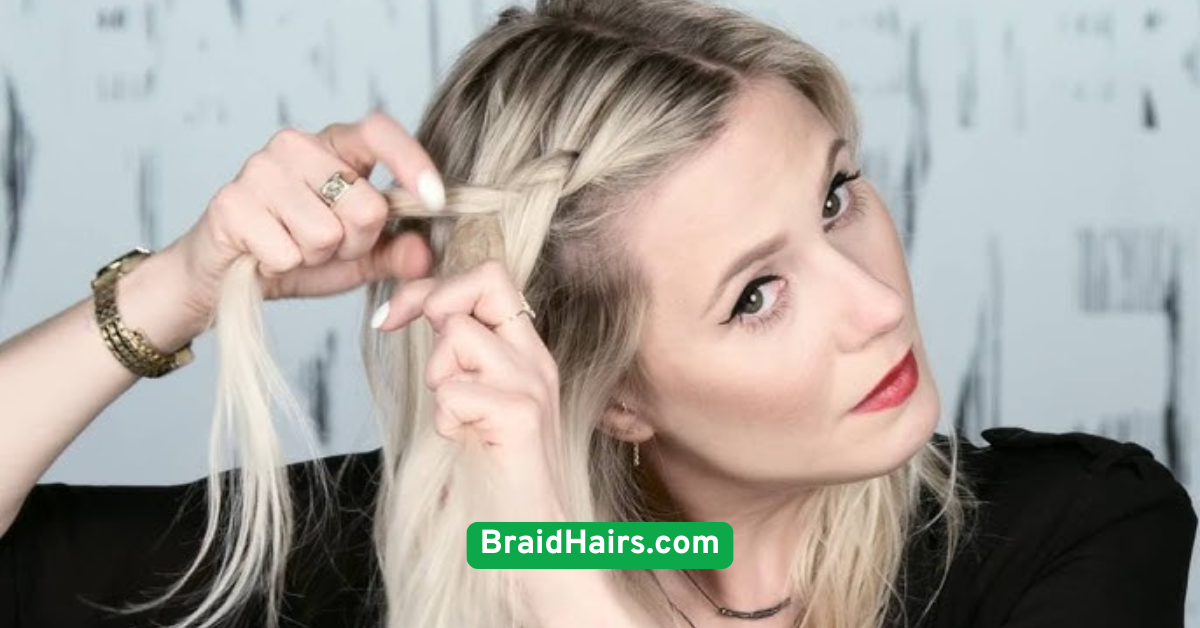
1. Classic Side Braid with a Twist
There’s something timeless about a side braid. It’s been a go-to for generations, and with just a tiny twist—literally—you can give this classic a fresh, modern edge. This look works beautifully for a dinner date, casual party, or even a semi-formal event.Start with a deep side part, then gather your hair over one shoulder. As you braid, take a small section from the outer part and twist it before weaving it in. This simple technique adds dimension and flair, creating a style that looks intricate but is surprisingly quick. If you’re working with medium to long hair, you’re golden. For finer hair, consider adding a bit of texturizing spray or dry shampoo to give the braid more grip.Want to elevate the look even further? Wrap a velvet ribbon around the end, or pin a pearl barrette just above the braid for a subtle sparkle. It’s amazing what a small accessory can do—suddenly, your everyday side braid transforms into something fit for a celebration.Budget-conscious tip: No need for fancy products—most of what you need is already in your drawer. A basic comb, a clear elastic, and a spritz of holding spray will get the job done. Whether you’re heading to brunch or a bridal shower, this hairstyle lets you look polished without the pressure.
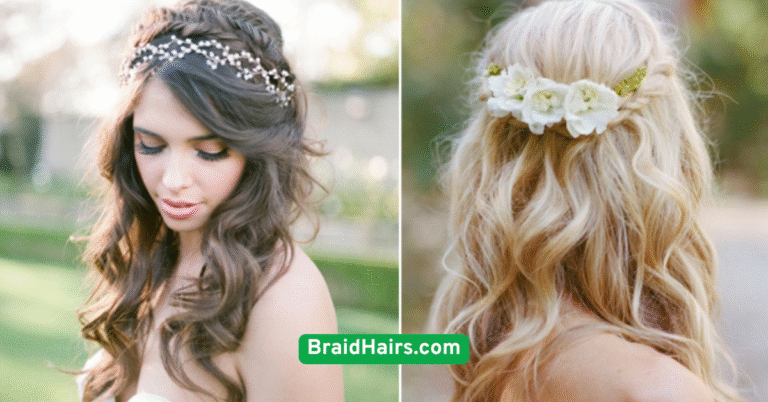
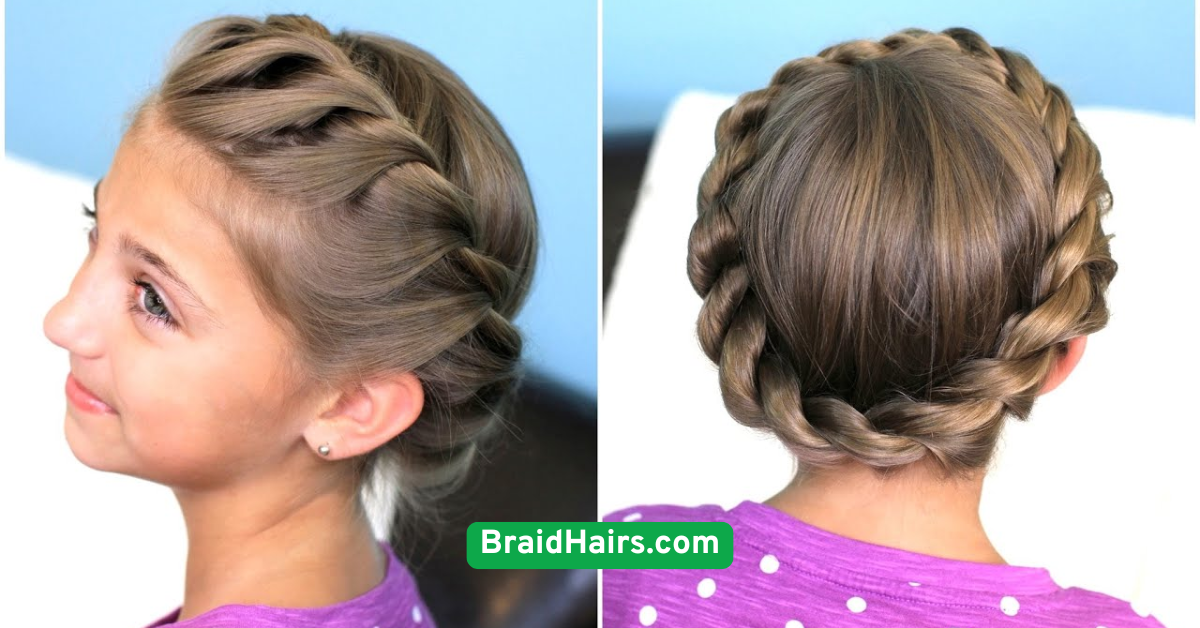
2. Romantic Crown Braid
If you’ve ever wanted to feel like royalty, this one’s for you. The romantic crown braid isn’t just for flower girls or fairy tales—it’s surprisingly wearable and perfect for outdoor weddings, garden parties, or even music festivals. It wraps around your head like a halo, creating a soft, ethereal look that stands out without being too over the top.To get started, part your hair down the middle and create two braids on either side of your head. Then, gently pull each braid across your crown and pin it into place using bobby pins. The secret here is to pancake (widen) the braid slightly by pulling on each loop—this gives it a fuller, more romantic appearance. If some strands fall loose? Let them. That just adds to the soft, dreamy vibe.This style is especially flattering for those with medium to long hair, but even short-haired gals can use extensions to achieve a similar look. If you’re attending an event that stretches from day to night, this style holds up wonderfully with just a touch of hairspray.Want to personalize it? Tuck in tiny fresh flowers or decorative pins to match your outfit. Think baby’s breath for boho events or gold pins for a more formal setting. This is one of those special occasion hairstyles that looks like it took hours—when really, it’s a 15-minute miracle.
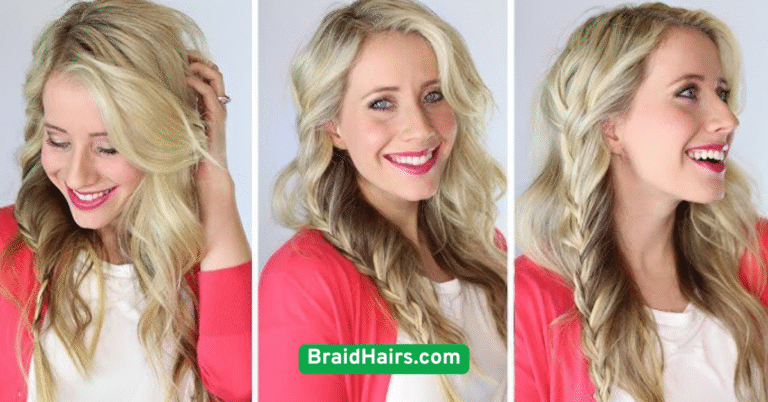
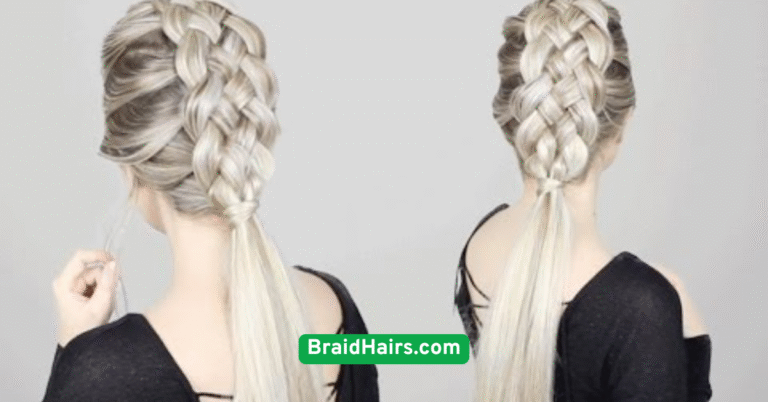
3. Fishtail Pony Braid
For a sleek, fashion-forward look, the fishtail pony braid is the ultimate blend of style and simplicity. It’s ideal for formal dinners, evening parties, or even professional events when you want to look put-together without going full glam. It offers a clean silhouette while still bringing in that intricate, braided charm.To begin, pull your hair back into a low ponytail and secure it with a hair tie. Separate the ponytail into two sections. Then, take a small piece from the outer edge of one section and cross it over to the opposite side. Repeat this until you’ve braided down to the ends. It might sound complicated at first, but trust me—once you get the rhythm, it’s surprisingly easy and oddly satisfying!What makes this style so versatile is how you can dress it up or down. Keep it sleek for a formal vibe or pull it loose and messy for something more relaxed. Add a bold hair cuff around the base of the ponytail or a decorative scrunchie for a playful twist.Fishtail braids work particularly well on straight or slightly wavy hair, but if you’ve got curls—go for it! Just smooth down the base with a serum or light gel to keep things looking tidy. And here’s a bonus: because the braid is secured at the nape, it stays put all day without needing much fixing.

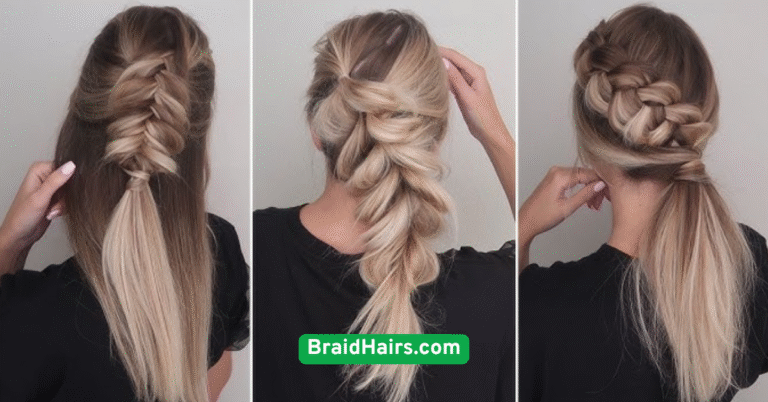
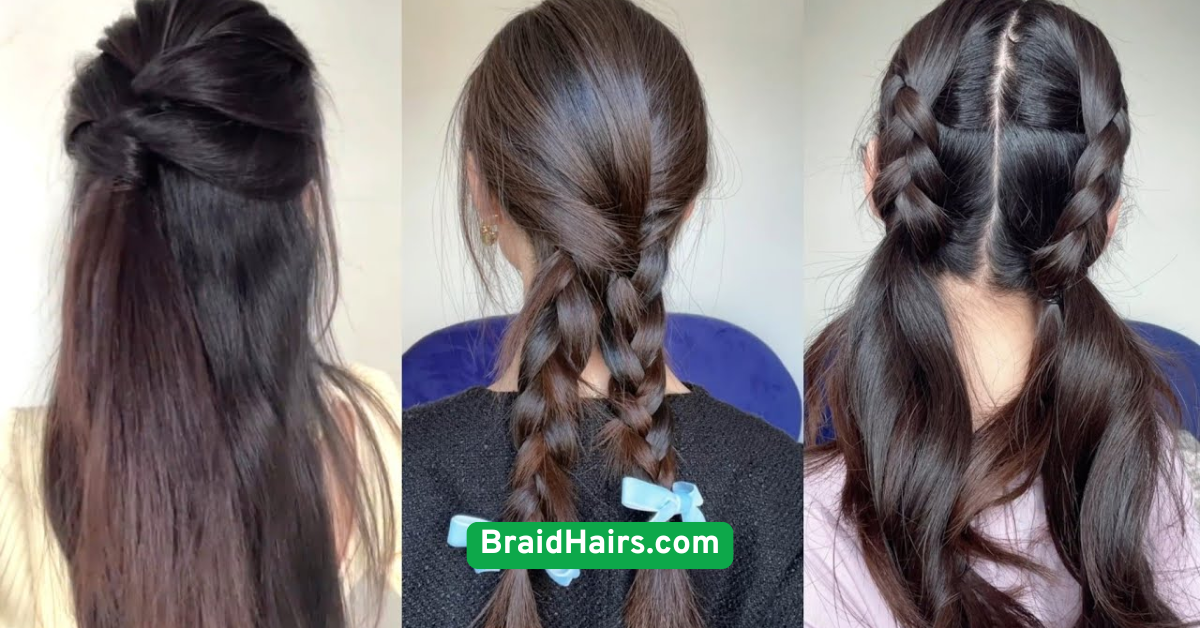
4. Braided Bun Updo
Let’s talk about elegance that stays put. The braided bun updo is the kind of hairstyle that screams polished and classy, but without being stiff or outdated. It’s ideal for formal events like weddings, proms, black-tie affairs—or even a chic night out where you want to look effortlessly fabulous.Here’s how to create it: Start by braiding your hair into a regular three-strand braid, then wrap it into a bun at the nape of your neck or slightly higher for a ballerina vibe. Secure with pins and you’re good to go. You can create more than one braid or mix in a fishtail for extra flair. The result? A textured bun that’s full of interest and charm.If you’re looking to add volume, try using a bun donut or even a rolled-up sock (yes, really!). Wrap your braid around the form for a more structured shape. This hack is especially helpful for those with fine or shorter hair.Personalize your updo with hair jewelry—tiny crystals, pearl pins, or a floral comb can instantly elevate your style from everyday to unforgettable. It also works well with veils or tiaras if you’re a bride-to-be!Budget tip: No salon needed. You can nail this entire style with drugstore bobby pins, a strong hair tie, and maybe a few spritzes of affordable hairspray. Elegant, affordable, and low-maintenance? Yes, please!
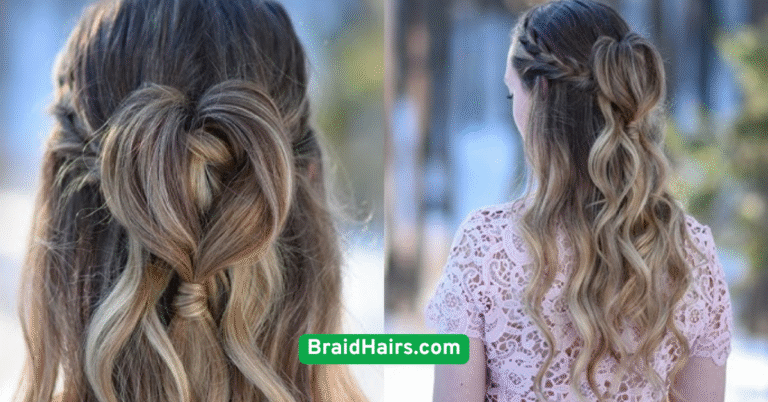
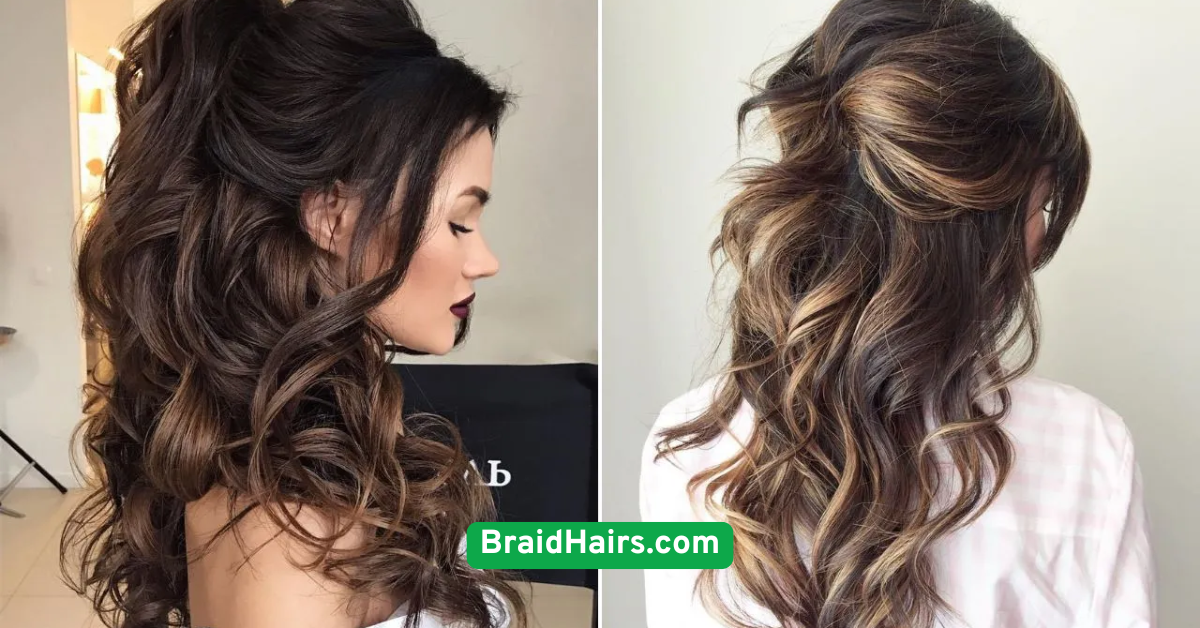
5. Waterfall Braid Half-Up Style
This waterfall braid is the kind of look that makes people stop and say, “How did you do that?!” But don’t worry—it’s easier than it looks and ideal for showcasing both the braid and your flowing locks. It’s perfect for bridal showers, birthday dinners, or even a romantic walk through the park.Start with a deep part on one side of your head. As you begin a traditional braid near your temple, drop the bottom section after each crossover and pick up a new piece from the top to replace it. This creates the cascading “waterfall” effect. You only need to do one side for a subtle look, or you can wrap both sides around to meet at the back for a full halo vibe.This half-up style works great on wavy or curled hair because the cascading strands look dreamy and full. Use a curling iron beforehand to add gentle waves, and finish with a touch of shine spray to enhance the effect.If you’re feeling fancy, weave in a delicate ribbon or a few tiny flowers. For a more relaxed version, gently loosen the braid and let a few strands fall around your face. It’s both feminine and flattering—without requiring hours of work.The best part? You’re only braiding part of your hair, so it’s quick and you get the best of both worlds: a styled crown with free-flowing locks that catch the light just right.
Conclusion
And there you have it—five incredibly easy braided hairstyles that make getting ready for a special day feel less like a chore and more like a moment of self-care. Whether you’re going for timeless and classy or modern and boho, there’s a braid here that will suit your style, skill level, and schedule. Each of these looks can be pulled off with minimal tools, little practice, and lots of personality.
What ties them all together? They’re versatile, budget-friendly, and confidence-boosting. No matter the occasion—a birthday, a date, a wedding, or just a day when you want to feel beautiful—these braided hairstyles are here to help you shine.
So go ahead, try one (or all!) of these styles. Braid it up, pin it down, add a flower or two, and walk into your next special moment looking—and feeling—amazing!